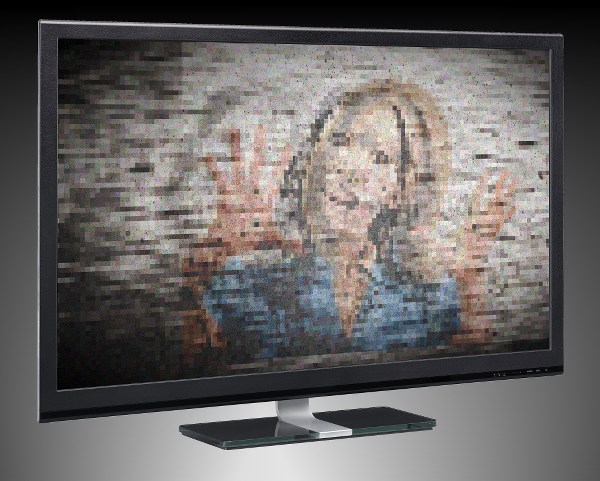
So there you are, trying to video conference with the a client, vendor, investor, or mom and your video feed, well…. stinks. Nothing makes a bad impression like a bad impression. I recommend that you always test your video setup a couple hours before you need to go live, making sure your webcam is working and the picture looks good. And just in case you need to call your tech support team or fix it yourself. Here are some basic and straight-forward things you can do to make sure a working system performs well.
Keep it clean!
Lens cleaner and microfiber are your friend. Get a cleaning kit from your local optician and keep your web-cam clean. Spray solution on the microfiber NOT on the camera. Gently remove junk and dust. The lens on your webcam is super tiny, so even a small spec of dust, lint or hair can have a major impact on image quality. Finger prints are worse, and can make your video look like it was shot through plastic bags – yuck. Leave the soft focus effect to Glamour Shots.
Can they hear you over all that noise?
Use a separate mic and turn off sources of background noise. The built-in mic on your laptop will
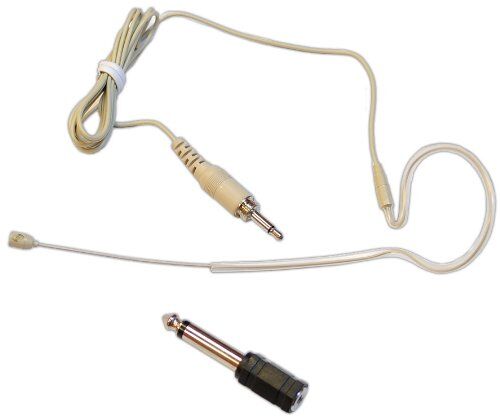
Head-worn mics sound much better than built-in computer mics and aren’t as noise prone as a lavalier.
likely pick up a great deal of background noise including the sound of your voice echoing off your walls. An inexpensive lavalier (Lapel clip style) mic can be plugged directly into the mic input of your computer. USB podcast mics can be reasonably priced if you don’t need portability. Head-worn mics are super the best of both worlds and unlike the lavalier, they won’t pick up the sound of your clothing as you move about.
When possible, use ear-buds instead of computer speakers. The sound from your speakers will be picked up by your mic and can lead to echos , feedback, or muddiness in your audio. Cheap ones can be purchased at the dollar stores but they’re not so good on your ear health. Be good to your hearing and invest in the best you can afford.
You can also get a head-set that has both head-phones and a boom mic. These are available from bulky down to slim and lightweight. Go light-weight if you’re not into that 80’s air-traffic-controller look.
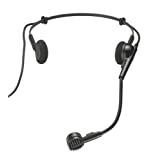
A combo headset like this is portable, sounds great and can eliminate back-gound noise and echos
Heloooo? Is anybody there? It’s important to use sufficient lighting.
CFL’s run cooler than halogen and incandescent.In low-light conditions, your camera has to amplify the signal it sees and this results in noise that looks like graininess, ugly color and lack of sharp focus. This get’s worse with lesser quality webcams. The light coming from your monitor should not be considered sufficient. A minimum of two 60-watt equivalent lamps within 6 feet of your face is a good starting point. A couple of cheap Harbor Freight or hardware-store clamp-on work-lights – one pointed directly at you and one bouncing light off the ceiling can create a soft and pleasing look. Use compact fluorescent bulbs since they run cool and won’t heat up your office.
Avoid back-lighting else you look like a talking silhouette with glowing edges. This type of lighting can also create havoc with the auto-exposure systems in your camera that can result in a visual pulsing that will serve quite well to annoy your viewers.

Inexpensive and available from tool and hardware stores. The larger the reflector, the softer the light. Get better light by using two or more.
The bigger the reflector the softer the light. A 10.5″ dish is better than a 6″ dish. You can also paint the interior white to soften the light a bit more. This will help reduce pore detail and the visibility of wrinkles too! Not that any of us are actually concerned about such things…
Yeah okay but those work-lights look terrible in my carefully designed office. What then?
Ikea has some great looking work lights in both clamp, table and floor options.

Certainly a step-up from the look of a shop light. Would also make a great background light.

Nicely styled clamp light. Moves easy and clamps about anywhere. Larger reflector provides a decent light. Point one at you and bounce the light of the other off an opposite wall for great looking light.

Part of the same Ranarp series, this could easily be combined with a couple of clamp-ons to create some fantastic light for your video sessions.
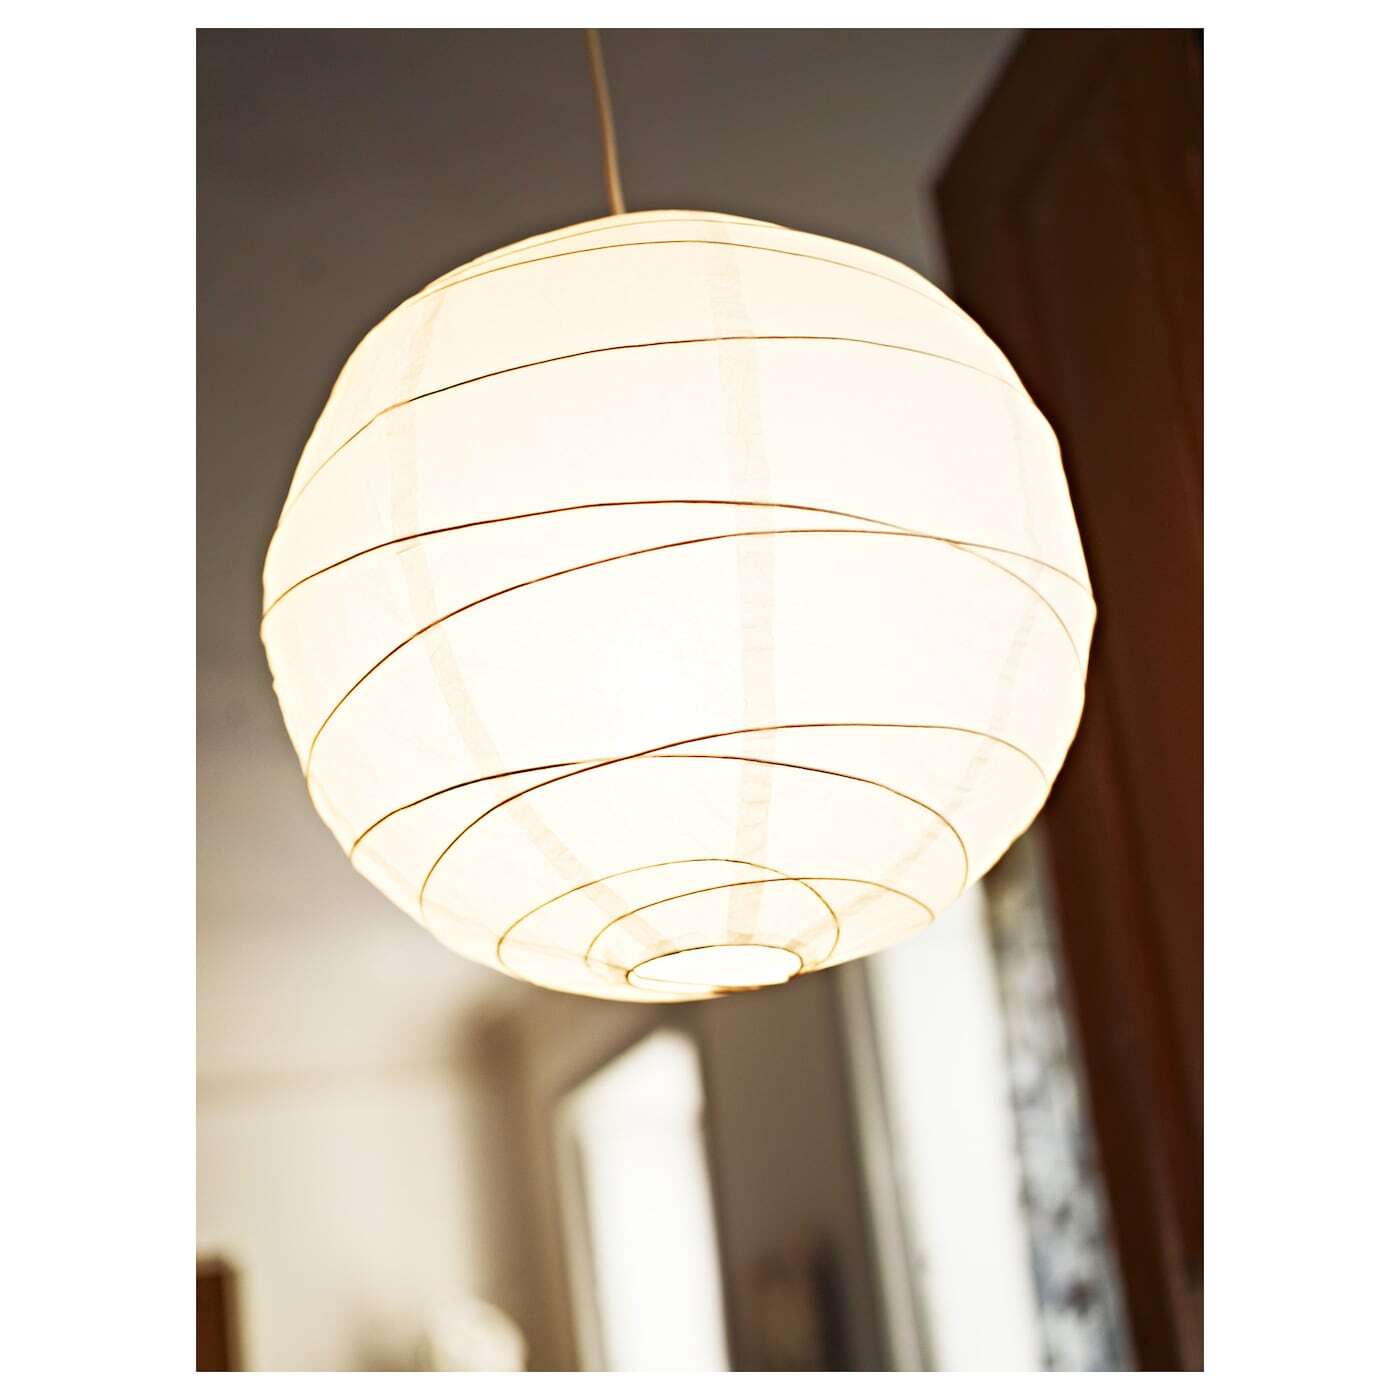
China Ball style lantern from Ikea for wrap-around soft light
In the professional video world there exists a type of light called the “China Ball”. Inspired by the round paper lanterns of China, these cast a omni-directional light that is super soft, very flattering and somewhat mimic the look of a professional soft-box except they throw the light everywhere – not in just one direction. The lighting is not inspiring from an artistic cinemagraphic point of view, but the lights look nice in the home or office. The lanterns are intended to be hung from the ceiling pendant-style and can be found at Ikea and import stores for around $5. https://www.ikea.com/us/en/catalog/products/70103410/ These are just the lanterns. You will also need a light kit that includes socket, cord and built-in switch. https://www.ikea.com/us/en/catalog/products/70103410/
Ikea has many stylish lighting options that mimic the china ball for under $20
Floor: https://www.ikea.com/us/en/catalog/categories/departments/living_room/10731/?priceFilter=true&minprice=7&maxprice=20
This model allows for both bounce and direct lighting in one. It is a torchiere with a side light mounted on a gooseneck that can be pointed where you like.
Table:
https://www.ikea.com/us/en/catalog/products/70096377/
and
https://www.ikea.com/us/en/catalog/products/40172462/
Quality video streaming also requires a good network, fast internet and a computer that isn’t running at a crawl. For more tips on improving your video chats, check out the post: Improving Your Google Hangout Experience.
Do you have some tips you would like to share? You can show your stuff and help others by adding your ideas to the comment stream below.
 The rising star in online networking is the Google Plus Hangout On Air, or HOA for short. This medium mixes the experiences of video conferenceing, webinars, screen sharing and chat all in one easy-to-use package. The affordable (can you say free?) tool also comes with the added benefit of increasing your SEO, your personal brand and the leverage of your YouTube channel.


.png)